Ceramic Saggar Tips for Perfect Firing Results How to Use?
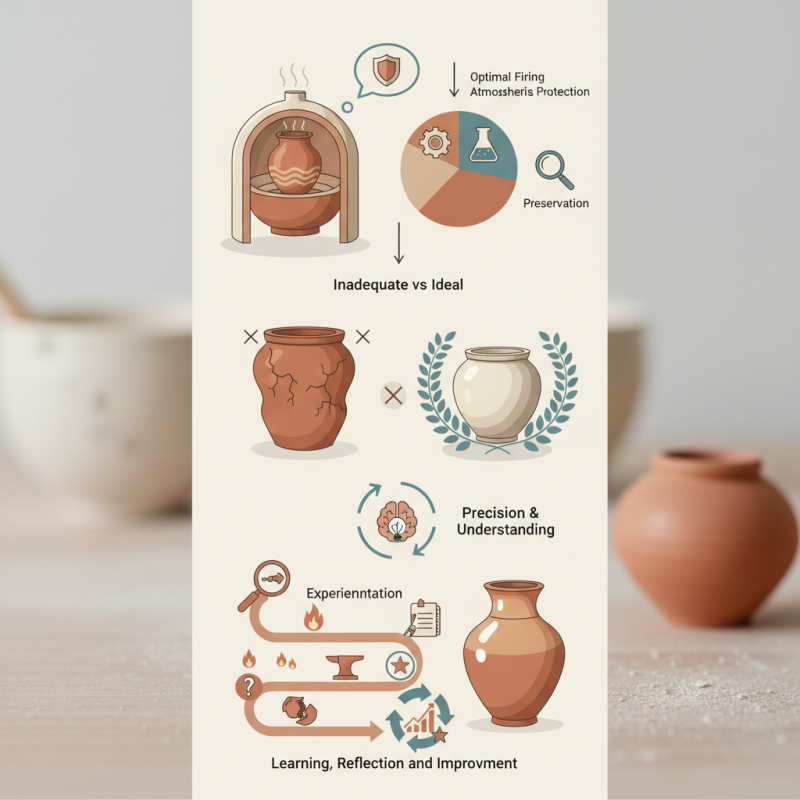
The use of Ceramic Saggar in the pottery industry has evolved significantly over recent years. According to a report by the Ceramics Industry Association, saggars play a crucial role in achieving optimal firing conditions. Expert Dr. Emily Thompson states, "Ceramic Saggars are essential for protecting pieces from atmospheric influences during firing." This highlights their importance in preserving the integrity of ceramics.
Implementing Ceramic Saggars effectively requires precision and understanding. Many potters struggle with creating the ideal saggar environment. Inadequate insulation or incorrect materials can lead to uneven results. It’s not uncommon to see pieces with unwanted blemishes or warping. These imperfections serve as reminders that even seasoned artists must continuously refine their techniques.
Experimentation is key in mastering the art of using Ceramic Saggars. Each firing presents an opportunity to learn what works best for your specific clay and glaze combinations. Remember that mistakes are part of this journey. Reflection on past experiences will ultimately lead to improvement and more successful outcomes in future firings.
Understanding Ceramic Saggar and Its Purpose in Firing
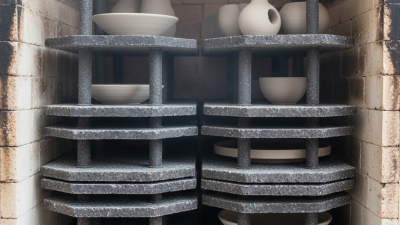
Ceramic saggar is a crucial tool in the firing process. It serves multiple purposes, including protecting ceramic pieces and enhancing their aesthetic qualities. By creating a controlled environment, a saggar influences the colors and textures that emerge after firing. Without it, the risk of oxidation can lead to unexpected results.
Crafting a saggar can be an art form in itself. It's essential to choose the right materials, like clay or metal, depending on your firing method. Make sure the saggar is well-ventilated. A poorly designed saggar might trap harmful fumes, altering your pieces in undesirable ways. When you open the saggar, the results can be delightful or disappointing, depending on how well it was executed.
Many artists forget that every firer has its unique style. Your saggar doesn't need to be perfect. Sometimes, imperfections can lead to new techniques. Embrace those unexpected surprises. They often bring growth and inspiration. Each firing is a learning experience. Are you ready to explore the potential of your saggar?
Choosing the Right Materials for Your Saggar
Choosing the right materials for your saggar can significantly influence the firing results. A saggar is an essential tool in ceramics for protecting pieces during the firing process. Many potters opt for natural materials like clay and grog. These materials can provide excellent insulation, but they may also lead to unexpected issues, like cracking if not mixed properly.
Consider adding sawdust or other organic materials. They can create unique surface effects, but they require careful handling. Too much can lead to excessive smoke, which might darken your pottery more than desired. Experimenting with these combinations can lead to beautiful surprises, but it's crucial to keep notes on your results for future reference.
Another option is silica sand. It can help in creating a more robust saggar, but it also poses risks if used excessively. You might find your pottery does not maintain the desired shape. Always strive for balance in your material choices. Pay attention to the weight distribution and how each material affects the firing atmosphere. A small change can lead to big differences in the final product.
Step-by-Step Guide to Preparing a Ceramic Saggar
Creating the perfect ceramic saggar requires careful preparation and consideration. Start by selecting the right materials. Choose clay that can withstand high temperatures. It must be durable but also pliable. You want a balance that allows for shaping without cracking.
When shaping your saggar, ensure the walls are even. Uneven thickness can lead to weak points. This is critical. Pay attention to detail. Use tools to refine edges and surfaces. The saggar's design affects how heat circulates inside.
Experiment with different shapes and sizes; it’s a trial and error process. Don't hesitate to revisit your designs.
Tips for success include pre-heating the saggar gently. This helps to avoid thermal shock during firing. Keep the lid slightly loose to allow for air circulation. Remember, mistakes are learning opportunities. Document your results, even the less successful ones.
Reflecting on these can guide future projects. Balancing creativity with precision can lead to beautiful outcomes.
Tips for Monitoring and Adjusting Firing Conditions
When it comes to using ceramic saggar for firing, monitoring conditions is crucial. Keep an eye on temperature fluctuations. If you notice the kiln temperature surging too high, this can cause unwanted effects on your pieces. Check your pyrometric cones regularly to ensure the kiln reaches the desired temperature range. Minor adjustments can lead to significant improvements in your final results.
Humidity is another factor that shouldn't be overlooked. If the environment is too humid, it can affect the clay and glazes. You may find that some pieces warp or crack. Using a hygrometer to measure humidity can be helpful. Adjust your workspace conditions accordingly. You'll want to dry your pieces adequately before firing, but not let them become overly dry.
Firing times vary greatly. It's tempting to rush the process, but this can lead to negative outcomes. Remember that patience is key. Monitor the cooling phase closely, too. A rapid cooldown can crack your beautiful pieces. Take note of what works and what doesn’t in each firing. Reflect on these experiences to refine your technique. Each attempt is a step toward improvement.