How to Choose the Right Ceramic Saggar in 2026?
Choosing the right Ceramic Saggar in 2026 starts with the firing, not the finish. A saggar must fit the ware, tolerate the kiln’s firing range, and suit the atmosphere or surface effects you want. Check its internal dimensions against your largest piece, including room for shelves or supports. Inspect the rim, base, and walls for cracks, uneven thickness, or signs of past warping. Small flaws matter.
Ceramic educator and author John Britt is a useful reference for practical, materials-focused thinking. Rather than invent a quotation or attribute unverified words to him, this guide uses a clear selection principle: “Choose a saggar for its fit, firing behavior, and intended use—not appearance alone.” Treat that as an editorial rule, not a direct quote from Britt. A saggar that looks sturdy on a studio shelf may still be too tight, too fragile, or unsuitable for repeated firings.
This guide will compare materials, size, construction, heat resistance, and maintenance. It will also consider the details that are easy to overlook: lid fit, handling weight, and clearance around delicate work. There is no perfect saggar for every kiln or firing. Your kiln records and test firings are better evidence than a product description alone. Use them. A little uncertainty remains, especially when makers provide limited performance data. Ask specific questions, inspect the piece, and choose one that matches your actual process.
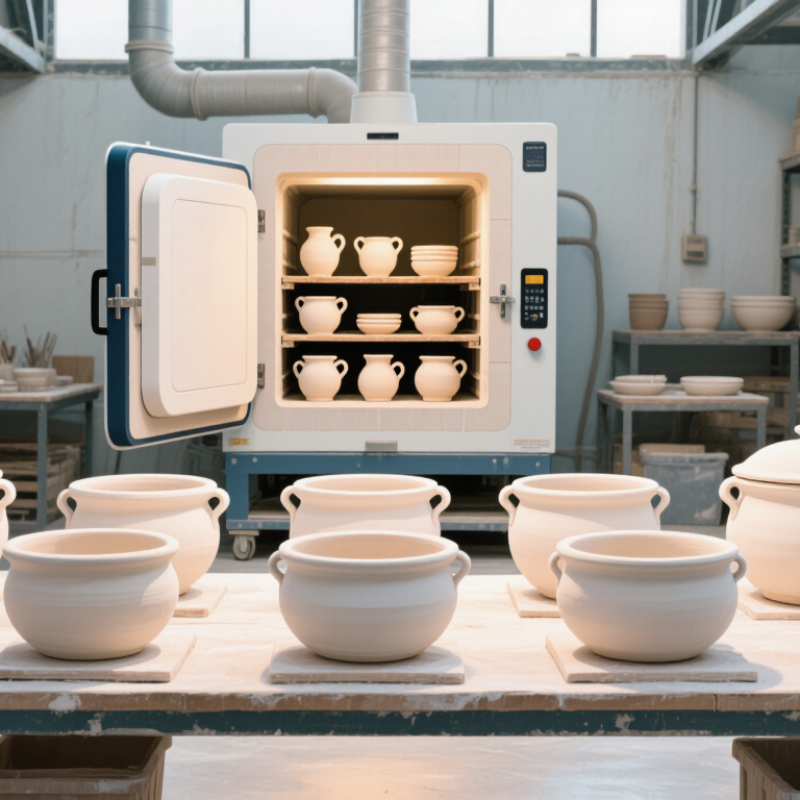
Set Your Firing Target: Cone 6 Reaches About 1,223°C at Standard Rate
How to Choose the Right Ceramic Saggar in 2026?
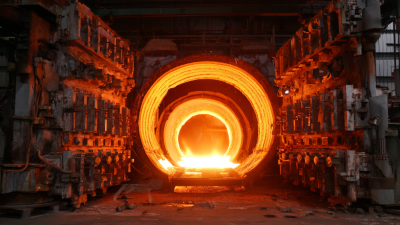
At a standard firing rate, Cone 6 is often associated with about 1,223°C. Treat that number as a reference, not a guaranteed kiln temperature. Cone response depends on the firing schedule, especially the rate of heating near the end. A brief hold can change the heatwork your clay and glaze receive.
Choose a saggar rated for your kiln’s peak temperature and suitable for its firing atmosphere. Check its dimensions against the kiln shelf, leaving room for airflow and safe clearance. A thick saggar may warm more slowly than a thin one, so pieces inside can fire differently from exposed test tiles. Small differences matter.
Use witness cones near the saggar, not only beside the kiln’s control sensor. They show the heatwork at the load. Not quite the same everywhere. If a glaze looks underfired, resist changing several variables at once. Test the saggar, placement, and firing schedule separately. I have found that careful notes help, though one firing can still surprise you. Ceramic bodies and kiln conditions vary, so confirm suitability with the saggar maker’s technical guidance.
Match Saggar Material to Its Rated Service Temperature and Kiln Atmosphere
Choosing a ceramic saggar starts with its rated service temperature, not its appearance.
Check whether the rating covers repeated firings, long holds, and your kiln’s heating and cooling schedule. A peak rating alone may not describe performance over many cycles. Leave a sensible operating margin, and confirm the rating in technical documentation. Small details matter.
Match the material to the kiln atmosphere as well. Oxidation and reduction can affect saggar bodies differently, depending on their composition and firing history. Refractory clay, cordierite, and high-alumina ceramics are not interchangeable; each has distinct thermal and chemical limits. Ask whether the material is suitable for your specific atmosphere, especially if the firing produces heavy deposits or changing conditions. Check fit, too. A saggar that crowds shelves or blocks airflow can create uneven results.
For a new material, run a controlled test with a small, representative load. Record the peak temperature, hold time, atmosphere, and any cracking, warping, or surface change. It is tempting to trust a single successful firing, but repeated cycles may reveal weaknesses. I would not treat a vague “high-temperature” label as enough; the exact rating and conditions should be clear. Keep the first test modest. A little uncertainty remains, even with good specifications.
Compare Porosity and Bulk Density Using ASTM C20 Refractory-Test Metrics
How to Choose the Right Ceramic Saggar in 2026?
Compare Porosity and Bulk Density Using ASTM C20 Refractory-Test Metrics
A saggar’s surface can look dense while hiding connected pores. ASTM International’s ASTM C20-00(2022) standard measures apparent porosity, water absorption, apparent specific gravity, and bulk density in fired refractory shapes. Its boiling-water procedure helps compare samples under consistent conditions. Apparent porosity estimates open pore volume as a percentage of bulk volume; bulk density is dry mass divided by bulk volume, usually reported in g/cm³. Small differences matter.
Compare test results from the same firing lot and sample geometry. For example, a sample measuring 18% apparent porosity and 2.4 g/cm³ bulk density is less open and heavier per unit volume than one measuring 28% and 2.0 g/cm³. These figures illustrate how to read a comparison; they are not ASTM acceptance limits. ASTM C20 specifies a test method, not a universal saggar specification.
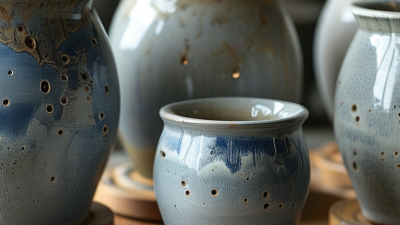
Lower porosity may reduce glaze penetration, but density alone cannot predict thermal-shock performance. Check fired dimensions, wall thickness, and visible cracking too. A practical trial can expose each candidate to your actual kiln cycle and glaze load. Record mass before and after firing. One limitation: a boiling-water test may not reproduce every service condition. Use it as a screening metric, not a guarantee. Cite the ASTM C20 method alongside your recorded results so suppliers and kiln staff can compare like with like.
How to Choose the Right Ceramic Saggar in 2026?
Compare apparent porosity and bulk density using ASTM C20 refractory-test metrics
The chart shows indicative screening values for common refractory material families—not certified product data or ASTM C20 test results. ASTM C20 measures apparent porosity and bulk density; actual values vary with composition, forming, and firing. Compare test results for the specific saggar, and consider thermal shock resistance and service conditions as well as density and porosity.
Check Thermal-Shock Resistance Data Across Repeated Firing Cycles
When choosing a ceramic saggar in 2026, look beyond its maximum firing temperature. Thermal-shock resistance depends on how the saggar handles repeated heating and cooling. Ask for test results across multiple firing cycles, not a single demonstration. Useful records include the starting temperature, peak temperature, heating rate, soak time, cooling method, and number of samples tested. Check how the test defines failure: a fine crack, edge chip, or visible warping may each matter in your kiln.
Look for cycle-by-cycle inspection notes. Photos can reveal small changes that a pass-or-fail chart misses. Compare the test schedule with your own firing routine, including the saggar’s size and typical load. Empty test pieces may behave differently once loaded. Ask whether the data covers the same material composition and dimensions you plan to use. A neat chart can still hide important details. I would not treat a stated cycle count as a guarantee; kiln placement and handling can change results. If practical, trial a sample under your usual schedule and record cracks, chips, and warping at consistent intervals. One detail is easy to miss: a saggar can look sound while developing hairline cracks.
How to Choose the Right Ceramic Saggar in 2026? — Check Thermal-Shock Resistance Data Across Repeated Firing Cycles
Test context: The cycle counts and mass-change figures below are illustrative example results, not certified measurements or guaranteed product specifications. Thermal-shock performance depends on saggar shape, wall thickness, kiln atmosphere, heating and cooling rates, loading, and handling. Use comparable, documented tests when evaluating actual products.
Confirm Saggar Dimensions, Load Clearance, and Kiln-Shelf Fit Before Buying
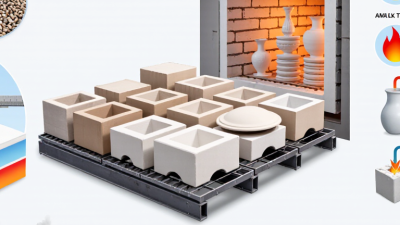
Before buying a ceramic saggar, measure its outside width, depth, and height, including any lid rim. Check the usable interior dimensions separately; thick walls can reduce loading space. Place your largest intended piece inside and allow room for packing material and airflow. A snug fit can become a problem. The published pyrometric-cone chart from the Orton Ceramic Foundation places cone 6 near 1,222°C at a heating rate of 60°C per hour, and about 1,243°C at 150°C per hour. That difference shows why saggar suitability depends on firing conditions, not just its advertised temperature rating.
Measure your kiln shelf and the kiln’s usable chamber, then compare them with the saggar’s full footprint. Include handles, lid overhang, and the space needed to load it without scraping the kiln wall. ASTM C24 describes pyrometric-cone testing for refractory materials; it is a useful reference for judging heatwork, but it does not confirm that a particular saggar fits your kiln. Check the seller’s recommended clearance and firing range.
Before committing, make a cardboard template of the base and test it on the shelf. It is a humble check, and easy to skip. That is exactly why it helps.